Valve Reassembly Guide
There are supposed to be 2 reed valves sandwiched between the heads. It is easy to get these mixed up. The valve plate is situated diagonally across the cylinder. The valve that is on the air filter side should push down when looking from the top and the valve on the supply tube side should push up from the bottom so that air will travel thru the head into the supply tube to your tank. Follow the pictures below for reassembly. Adding a small amount of petroleum jelly to the valves will keep them in place during assembly. The head of these pumps can be turned 180 degrees to accommodate different pump styles, but if you will observe where your air filter is located on your head and make sure that this intake valve is located over that area and that it pushes down into the cylinder to allow air to be drawn in, you will not have a problem.
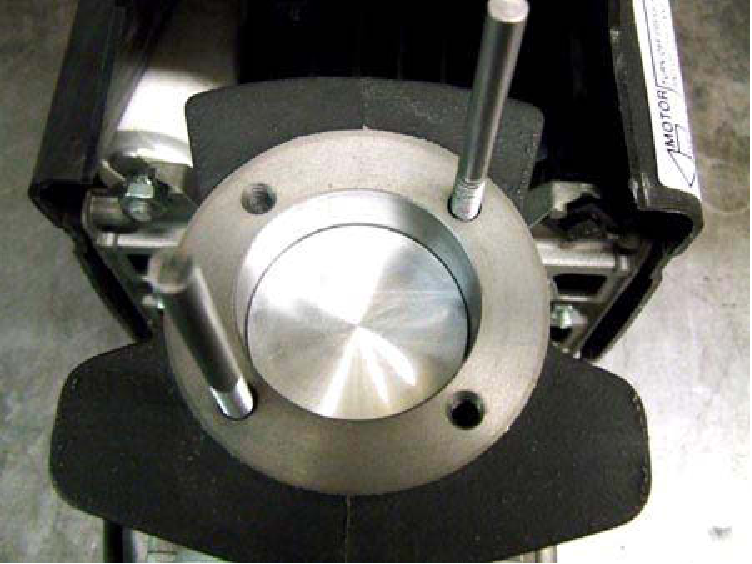
Inserting two studs into the cylinders will assist with alignment
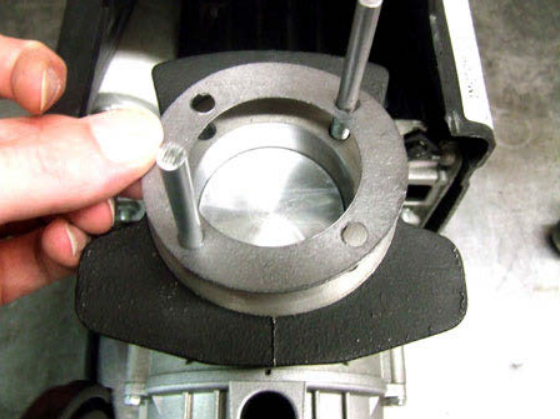
Install the graphite cylinder gasket being careful not to damage it.
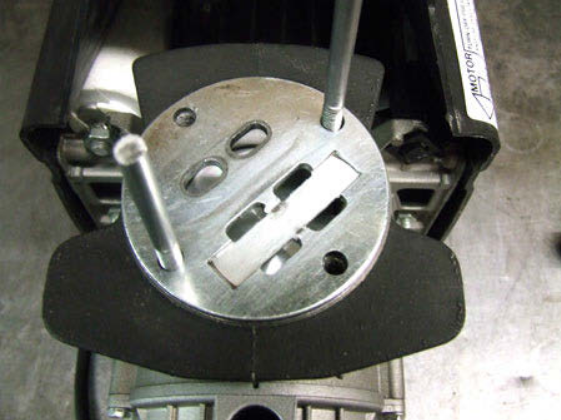
Install one of the valve plates, use petroleum jelly on the reed valve to assist in keeping them in place. Make sure that this plate is diagonally placed on the cylinder. The recessed portion (so that if you push on the valve it will push downwards) should be located on the side that matches the head where the air filter is located, this way when the piston draws in air, it will suck the valve downward.
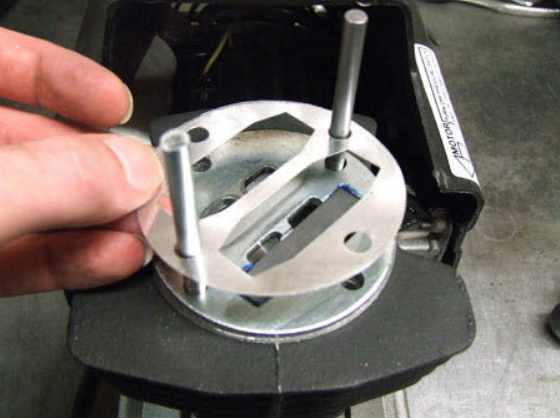
Next, install the thin metal valve plate gasket making sure to line it up with the reed valves.
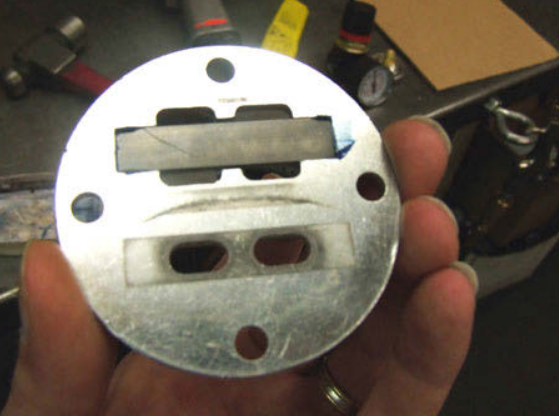
Next, take the remaining valve plate with the recessed valve area facing you. Put a small amount of petroleum jelly on the valve to assist in holding the remaining reed valve in this cavity.
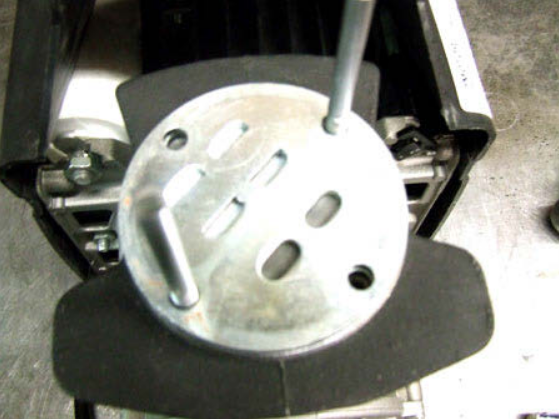
Now, install the top valve plate with the installed valve on top of the other valve plate and valve plate gasket. Make sure that this valve plate fits directly opposite the other valve. Now, when the piston pushes upwards, it will push the valve up and allow air to travel into the head and out the supply tube.
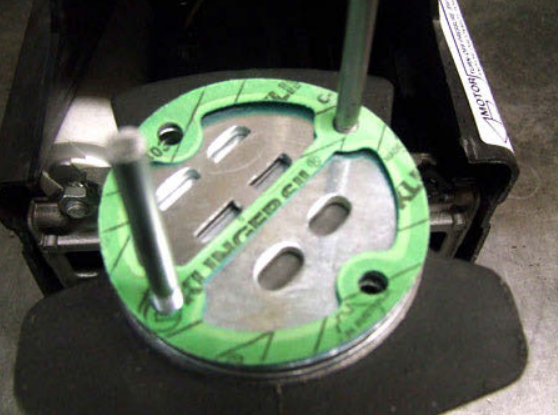
Install the head gasket last, making sure to line up the center dividing piece between the intake and exhaust valve which will keep the intake air on one side and the exhaust air on the other. If you look at the underside of the head, you will see that this gasket line will line up with the metal division line in the head as well.
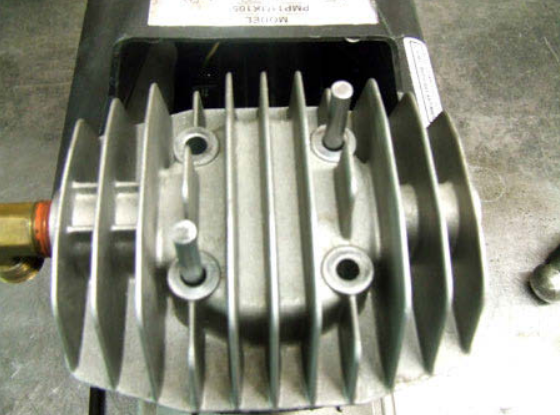
Now, you can install 2 of the head bolts finger tight. Remove the 2 alignment studs or whatever you used to assist you. Install the remaining 2 head bolts. Now torque them evenly to 8 ft. lbs. or 96 in lbs. If you do not have a torque wrench, just make sure they are nice and snug to eliminate leakage.
